Welcome: Getting started with your Studio in a Box
1) Assembling the Studio
To learn how to assemble your Studio in a Box, simply watch the videos below and follow along step by step.
Don't Wait.
You Can Do This.
2) After Studio Assembly
After you finish this page of training and your studio is assembled, the next step is to learn how to shoot videos.
If you don’t have our monthly editing service then you can skip “3. How to Upload Files” and “4. How to Request Edits”.
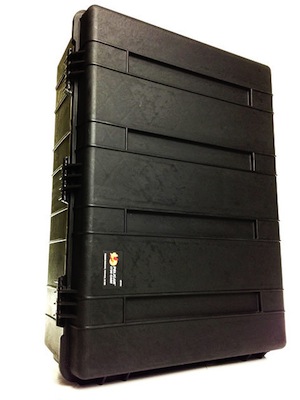
Step 1: Opening The Box
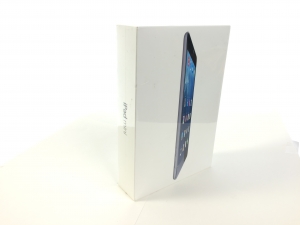
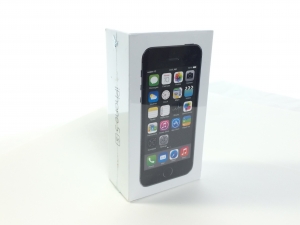
The very first thing you’ll need to do is open up your box and grab your iPhone and iPad Mini. You’ll need those two items for the next video. We heartily recommend you take advantage of the wheels and roll your box to its destination like a piece of luggage. If you try and pick it up you’ll realize just how much amazing gear we managed to pack inside.
This training video will require the following pieces:
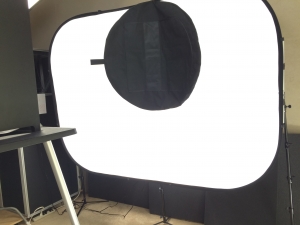
Step 3: White Background Setup
This talks about what happens in the background setup section
This training video will require the following pieces:

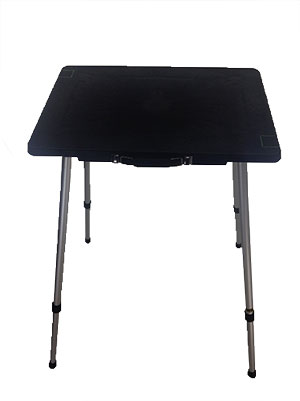
Step 4: Table Setup
This talks about what happens in the table setup section
This training video will require the following pieces:
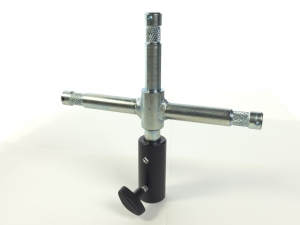
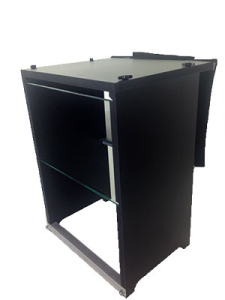
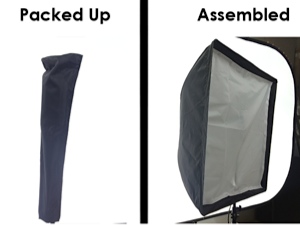
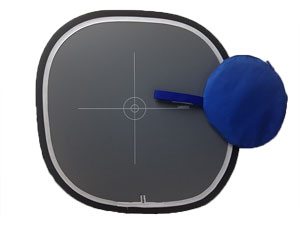
Step 5: Watchbox Setup
This talks about what happens in the Watchbox setup section
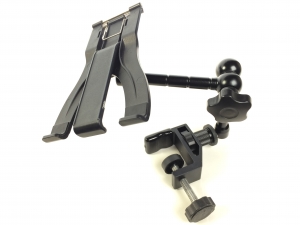
This training video will require the following pieces:
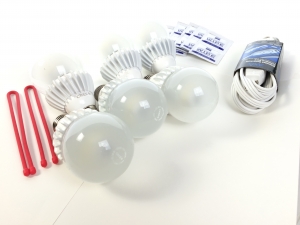
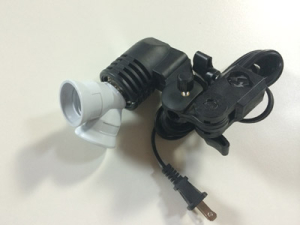
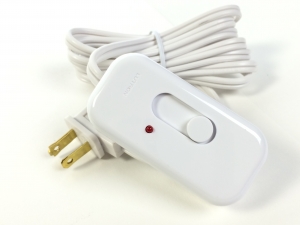
Step 6: Front Light Setup
This talks about what happens in the Front Light setup section
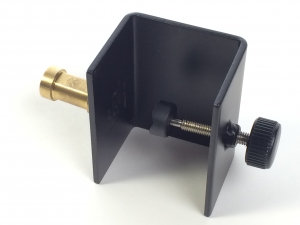
This training video will require the following pieces:
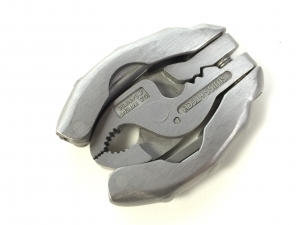
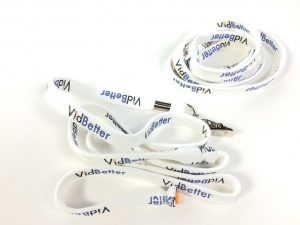
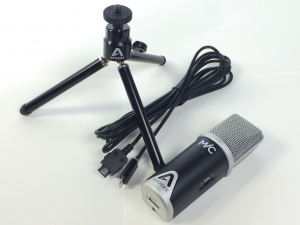
Step 7: Microphone Setup
This talks about what happens in the Microphone setup section
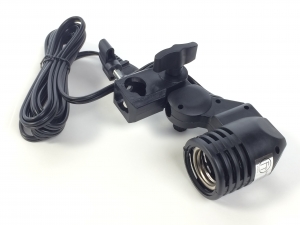
This training video will require the following pieces:
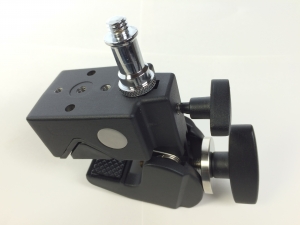
Step 8: iPad & iPhone Mounting
This talks about what happens in the iPad & iPhone Mounting section
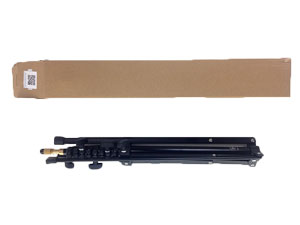
This training video will require the following pieces:
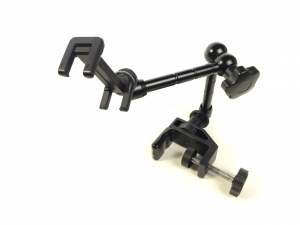
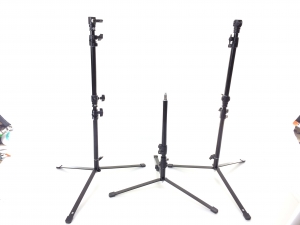
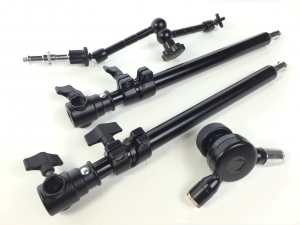
Step 9: Interviewer Light Setup
This talks about what happens in the Interviewer Light section
This training video will require the following pieces:

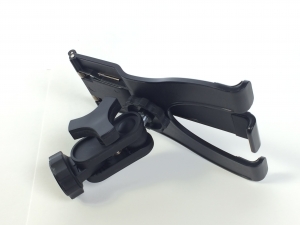
Step 10: Dummy Stand Setup
This talks about what happens in the Dummy Stand section
This training video will require the following pieces:
Finished: Your Studio is Assembled
Congratulations, now you can move onto the next part of training — learning how to shoot!
1) After Studio Assembly
Once your Studio in a Box is assembled, it’s time to start shooting. The following 2 pages show you how to shoot and how to import footage onto a computer after you finish shooting.
2) Exclusive: For VidLauncher Monthly Service Clients
If you’re using our monthly service, then you’ll definitely need to check out the last 2 pages of training. You’ll learn how to upload files to your online workspace, as well as how to request that we edit your videos.