Welcome: Getting started with your Studio in a Box
1) Assembling the Studio
To learn how to assemble your Studio in a Box, simply watch the videos below and follow along step by step.
Don't Wait.
You Can Do This.
2) After Studio Assembly
After you finish this page of training and your studio is assembled, the next step is to learn how to shoot videos.
If you don’t have our monthly editing service then you can skip “3. How to Upload Files” and “4. How to Request Edits”.
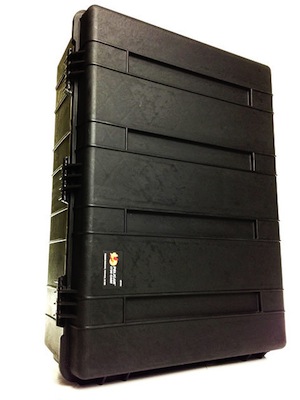
Step 1: Opening The Box
2) Find This Bag
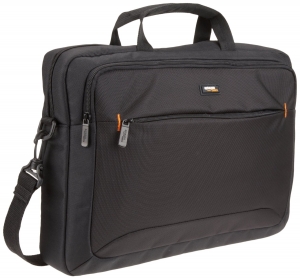
Inside this bag you’ll find your iPad Mini and your iPhone. Once you have these two pieces, simply watch the video in the next step.
The very first thing you’ll need to do is open up your box and grab your iPhone and iPad Mini. You’ll need those two items for the next video. We heartily recommend you take advantage of the wheels and roll your box to its destination like a piece of luggage. If you try and pick it up you’ll realize just how much amazing gear we managed to pack inside.
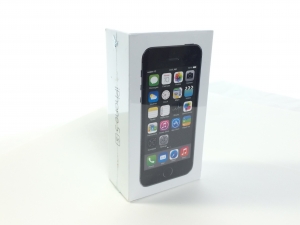
Step 2: iPhone Camera & iPad Communications
iPhone = Camera. iPad = Communications — If you’ve ever tried to shoot video using an iPhone in poor lighting conditions, you’d think it was a toy. But when you have the perfect lighting, microphone, and background supporting it, it’s beautiful. And the iPad is the perfect complement. We’ll talk more on that later.
This training video will require the following pieces:

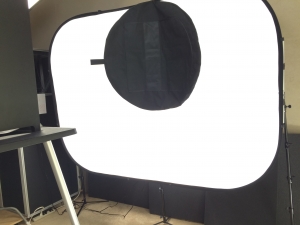
Step 3: White Background Setup
The white background is key to getting the most out of your studio setup. It provides the clean visual slate upon which you can build anything. And when you start adding text graphics, photos, B-Roll video footage, etc, you’ll see how important it really is.
This training video will require the following pieces:

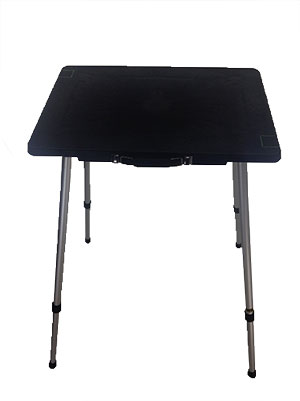
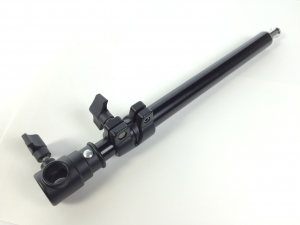
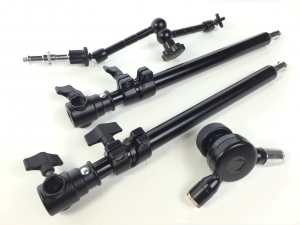
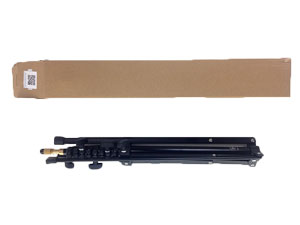
Step 4: Table Setup
The table is going to provide the backbone to the rest of your gear. Nothing too flashy here, but the height adjustment matters more than you’d think. And we even have guidelines to help you put it in the perfect position relative to the background. Not too far, not too close, just right…
This training video will require the following pieces:
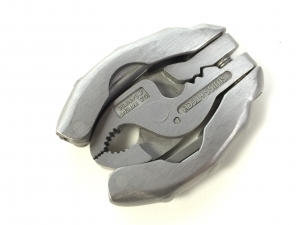
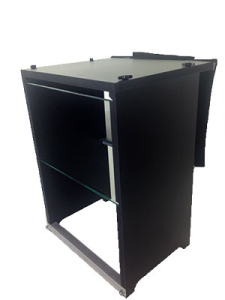
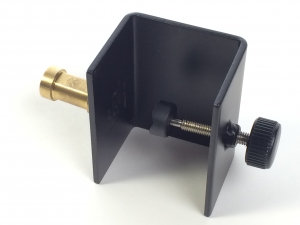
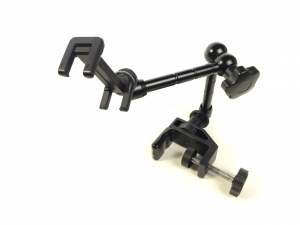
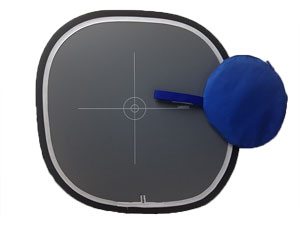
Step 5: Watchbox Setup
The Watchbox is one of our proudest little inventions. If you’ve ever stared into a camera lens and felt that twinge of awkardness, you’ll immediately see why we hide the camera from view. But we don’t stop there. You can use the Watchbox reflected image to cheat during the video shoot and look at anything you want.
This training video will require the following pieces:
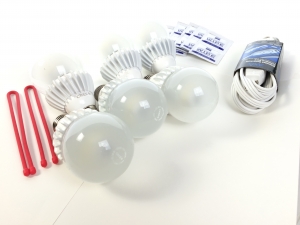
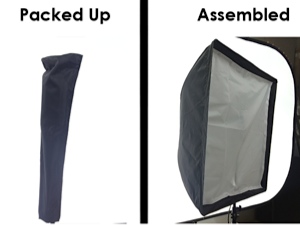
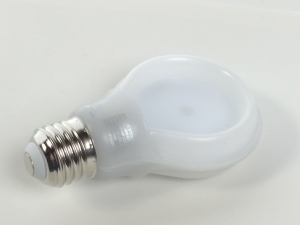
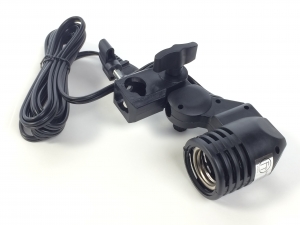
Step 6: Front Light Setup
Lighting is everything. That’s worth repeating — Lighting is EVERYTHING. Ask any photographer and they’ll tell you that the lighting itself is an art. But you don’t have time to become an artist, you just want to look good without effort. Luckily, we’ve taken all the guesswork out of it for you. All the hard research has been done — you just follow the video.
This training video will require the following pieces:
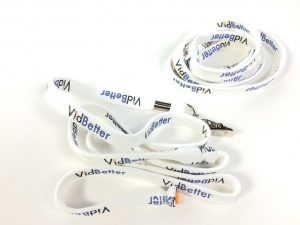
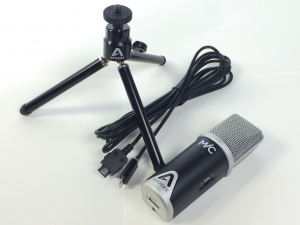
Step 7: Microphone Setup
Okay we lied. Lighting is everything when it comes to visuals. But nothing in the world can replace a good microphone. You remember movies like the Blair Witch Project and Cloverfield that went for the cheap “home video camera” look? Viewers can get into the cheap camera visuals, but they could never accept cheap sounding audio. Those films have pristine audio, just like every other film. And you should too.
This training video will require the following pieces:
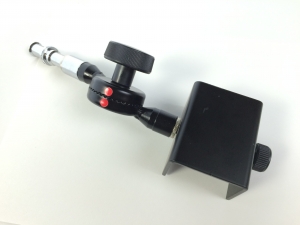
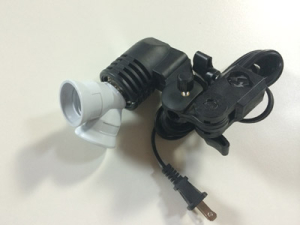
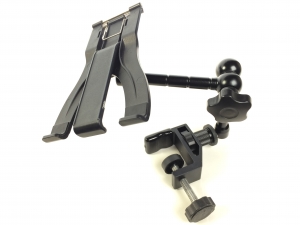
Step 8: iPad & iPhone Mounting
Okay, now it’s time to position your iPhone & iPad within your studio setup. Make sure to pay extra close attention here, and also as we show how to shoot in later videos. You really want to make sure you’re positioning & aiming your devices like we show you. Ignore this and it will feel like your subject’s face is gazing at your viewers’ ears or their bellies. You want them making direct eye contact with your viewers.
This training video will require the following pieces:
Step 9: Interviewer Light Setup
The interviewer light is usually turned on if you have two people in the same room conducting an interview style shoot. Instead of the subject looking at their iPad in the Watchbox, they’re looking at a reflected image of the interviewer’s face. And to get a nice reflection we need to shine a bit of light at that interviewer. Hence, the interviewer light.
This training video will require the following pieces:
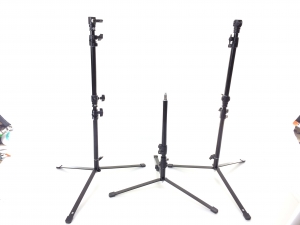
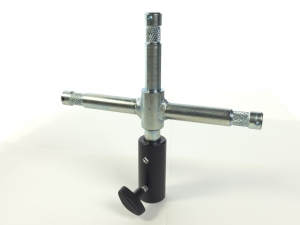
Step 10: Dummy Stand Setup
The dummy stand is going to really help you dial in your settings optimally on your iPhone camera. We’ve made it as simple as tapping a couple buttons and automatically getting everything perfect. Remember: friends don’t let friends shoot videos without calibrating first. Don’t get lazy here, use your dummy stand and your videos will thank you.
This training video will require the following pieces:
Finished: Your Studio is Assembled
Congratulations, now you can move onto the next part of training — learning how to shoot!
1) After Studio Assembly
Once your Studio in a Box is assembled, it’s time to start shooting. The following 2 pages show you how to shoot and how to import footage onto a computer after you finish shooting.
2) Exclusive: For VidLauncher Monthly Service Clients
If you’re using our monthly service, then you’ll definitely need to check out the last 2 pages of training. You’ll learn how to upload files to your online workspace, as well as how to request that we edit your videos.